Skip to content
RUBBER & SILICONEStandard parts. Custom solutions.

ETOL · CUSTOM RUBBER & SILICONE FACTORY

Custom Rubber Seals & Strips

Your profile. Our production.

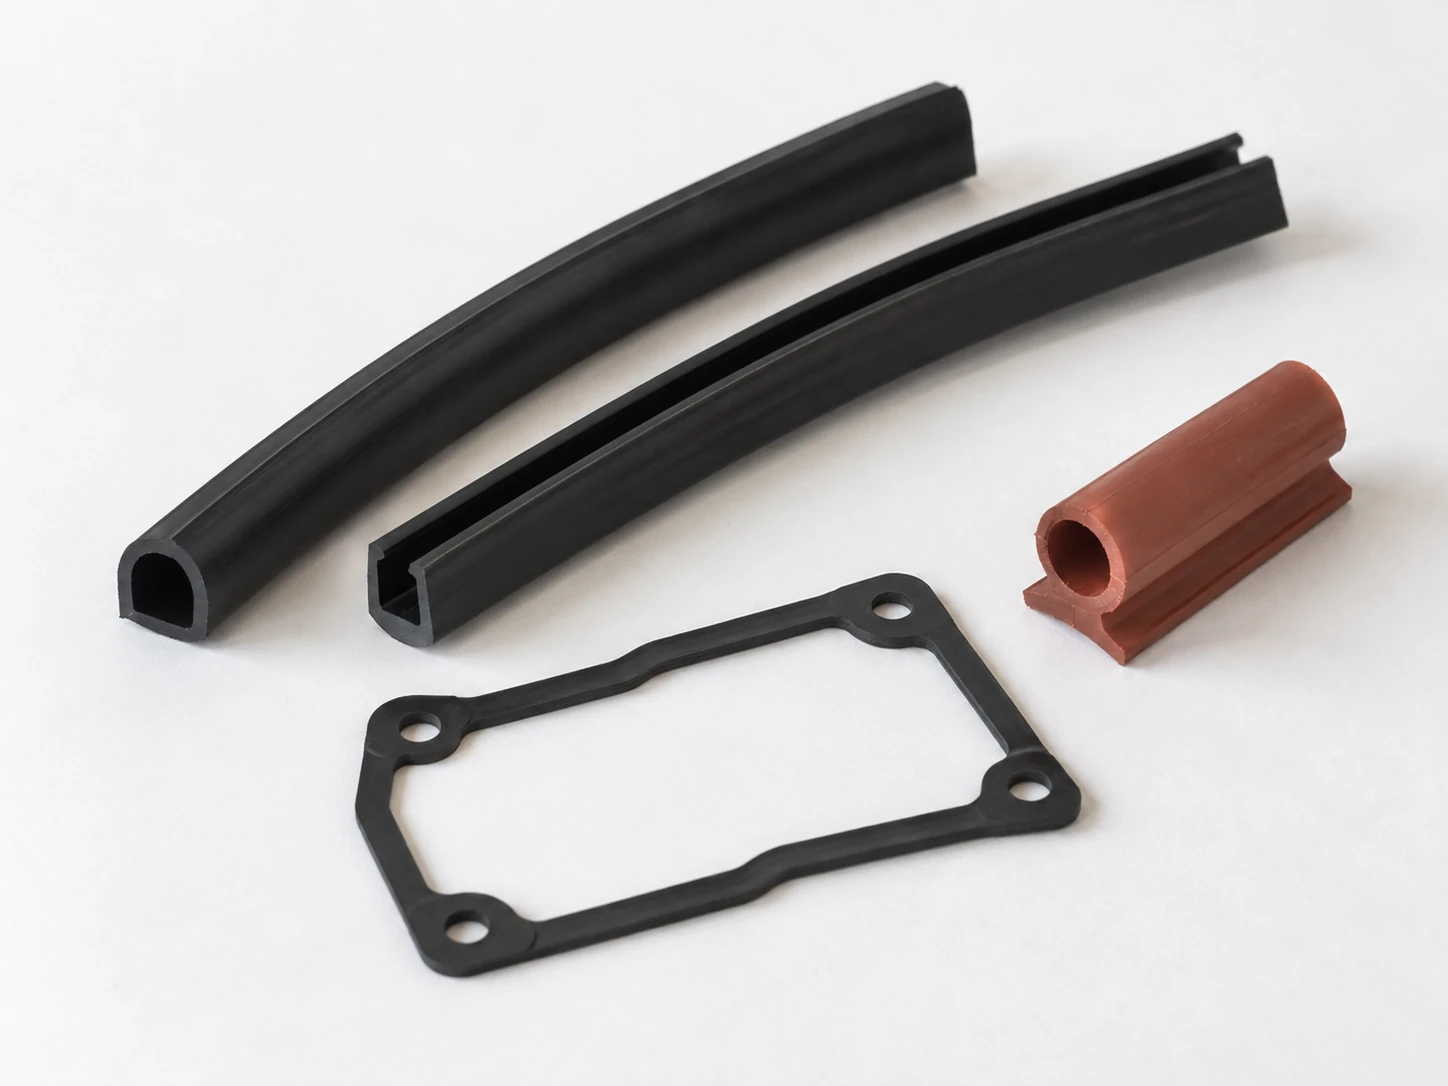
ETOL manufactures custom rubber seals and strips to fit your groove and assembly. Share your drawing so we can review the shape, material, color and hardness with you.

Start with a drawing, a sketch or a reference sample.

MADE TO YOUR DESIGNOEM / CUSTOM
Custom seal profiles, strips and molded shapes — design visualization
Custom seal profiles, strips and molded shapes — design visualizationShape · Material · Color · Hardness
Direct from our factoryCustom toolingSample evaluationProduction to your approved specification

01 / YOUR DESIGN COMES FIRST

A better fit starts with your cross-section.

From a continuous strip to a shaped sealing element, share the profile and mating surfaces. We review the design with you before making tooling and samples.

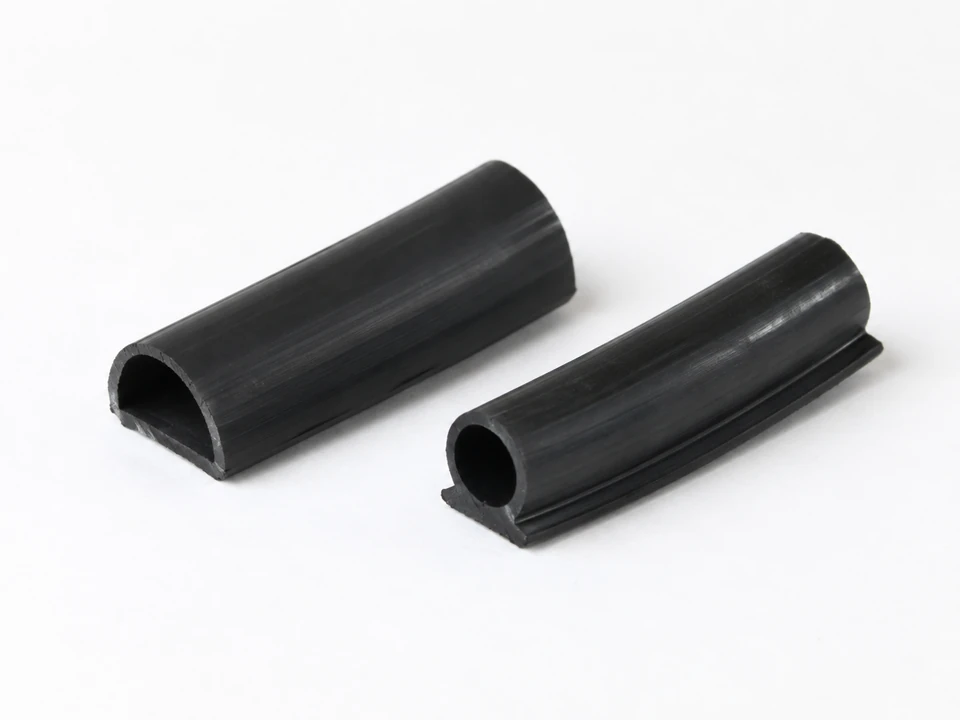
Hollow D-shaped and bulb rubber seal profiles with visible cut sectionsDESIGN CONCEPT

D & bulb profiles

Define the hollow section, contact face and compression space.

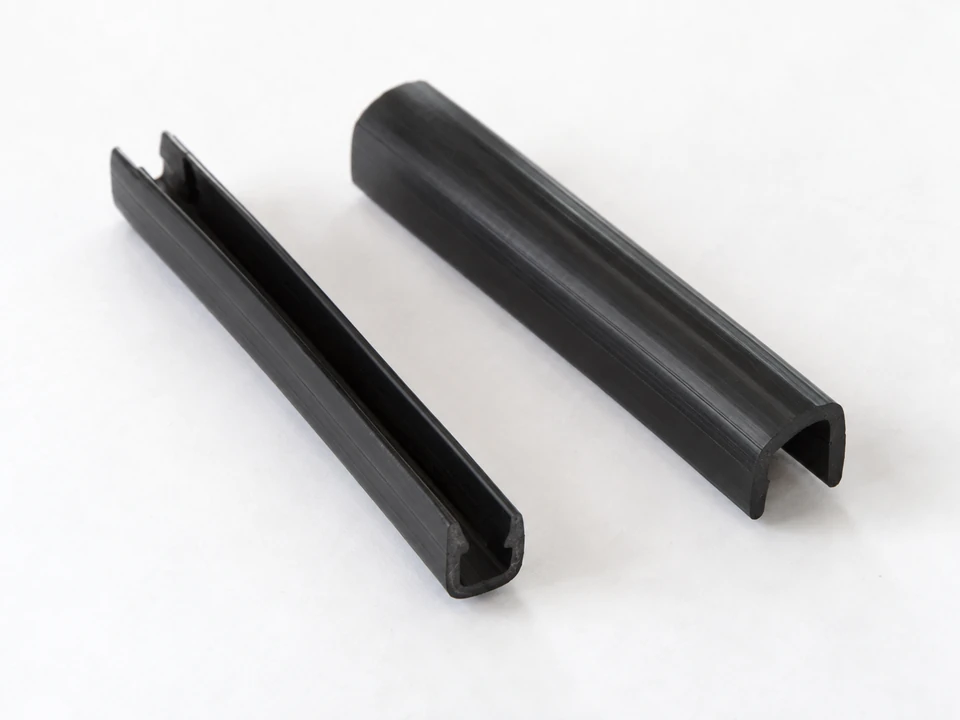
Rubber U-channel edge trims showing open grooves and gripping wallsDESIGN CONCEPT

U channels & edge trims

Match the opening, wall thickness and gripping section to your panel.
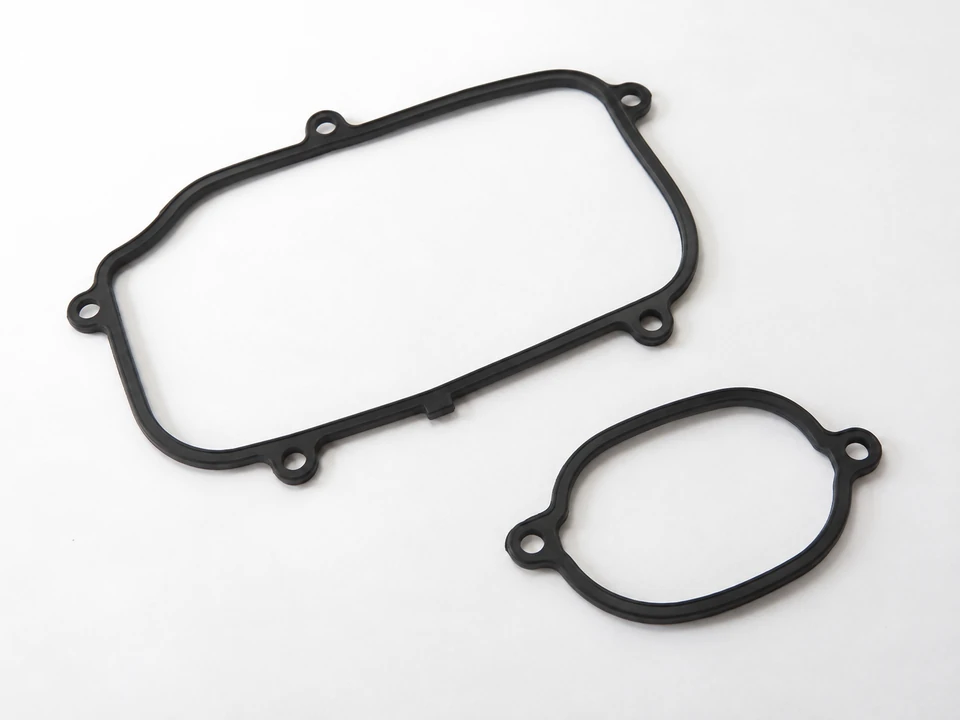
Custom molded perimeter seals with mounting holes and locating featuresDESIGN CONCEPT

Custom molded seals

Build special outlines, holes and locating features into your part.

These shapes are starting points. Send your own design for a manufacturing review.

DIMENSIONS · PROFILE · APPLICATION

Measure the profile. Define the installed gap.

A practical seal & strip brief, from first measurements to sample approval.

01 How to measure

WHt
Free-state dimensions. Schematic only; not to scale.
  1. Supply a square-on end view with overall width (W), height (H), wall thickness (t), openings and lip or foot dimensions.
  2. Include cut length, length tolerance, corner details, joint locations and whether you need an open strip or a closed frame.
  3. Record the channel or panel size and the minimum and maximum closed gap. Measure the free profile without stretching or flattening it.

02 Cross-section library

Use these reference shapes to describe your requirement. Availability, tooling and dimensions are confirmed after drawing review.

Solid rectangularSpecify width, height and mounting method.
Hollow D / bulbShow wall thickness, cavity and compression direction.
U channelMatch the opening and gripping features to the panel.

03 Show where the seal fits

Mounting base g
Hollow profile against a closing face — section view. Faces are separated for clarity; g indicates the assembly gap to confirm, not a specified compression.

Show the mounting base or channel and the opposing surface. Include closed-gap variation, closure direction, corners and joints. For edge trims, provide panel thickness; for adhesive mounting, identify the substrate and finish.

Send an assembly section alongside the part drawing. Confirm free size, installed size and tolerances separately. Agree on compression and fit for the selected compound and geometry before approving a sample.

04 Choose a material with the application in view

Already specified a compound? Share its grade and datasheet. Otherwise, use this checklist to discuss silicone, EPDM, NBR, CR, FKM or another candidate with our team.

Contact media

List fluids, gases, cleaners and concentrations. Request compatibility review for the exact compound at the operating temperature.

Temperature & exposure

Separate continuous service from short peaks. Include outdoor exposure, immersion time and cleaning cycles.

Hardness & construction

State the hardness value and scale if known. For sponge or hollow profiles, include compression-force and recovery requirements.

Application requirements & appearance

Identify any contact requirements, test methods or traceability needs for the application. Specify color with a Pantone code.

A polymer name alone does not confirm temperature limits, chemical compatibility or compliance. Final selection depends on the compound, assembly and agreed validation conditions.

05 Confirm the operating conditions

Include the following with your drawing. Mark unknown items for review rather than guessing.

Medium & temperature
Contact medium, concentration, minimum / continuous / peak temperature and peak duration.
Pressure & movement
Working and peak differential pressure or vacuum; pressure direction; static or moving contact, speed, stroke and cycles.
Assembly & environment
Groove or panel dimensions, gap range, mating surfaces, closure or clamp force, cleaning and indoor / outdoor exposure.
Acceptance & order
Leakage or ingress target with test conditions, service-life target, drawing revision, quantity and requested delivery date.

Before production: agree on the drawing and compound, check sample dimensions and assembly fit, then evaluate sealing under the agreed conditions.

Discuss Your Seal Requirements

02 / MADE YOUR WAY

One part. Every detail yours.

Tell us what matters to your product. We turn your requirements into an agreed manufacturing specification.

01

Shape & dimensions

Your cross-section, seal outline, cut length, wall thickness and tolerances.

02

Material

Discuss silicone, EPDM, NBR, CR or other rubber compounds for your operating environment.

03

Color

Black, white or custom colors matched to your Pantone color code.

04

Hardness

Specify a target Shore hardness, or share the compression and flexibility you need.

05

Structure & finish

Discuss solid or sponge construction, surface finish and adhesive backing.

06

Fit & application

Tell us about the groove, mating surfaces, exposure and sealing requirements.

Material grade, achievable hardness, tolerances and Pantone color matching are confirmed for your design during review.

03 / WORK DIRECTLY WITH THE FACTORY

From your idea
to your finished part.

Work with ETOL through design review, tooling, samples and production. We agree on the details with you at each stage.

  1. 01

    Share your design

    Send drawings or a sample, the application and your expected quantity.

  2. 02

    Review & quote

    Agree on geometry, compound, tooling, pricing and project timing.

  3. 03

    Evaluate samples

    Check the fit, appearance and performance in your actual assembly.

  4. 04

    Approve production

    Confirm the sample and specification before arranging batch production.

LET’S MAKE YOUR PART

You bring the design.
We bring the manufacturing.

Have a finished drawing or just a sample? Tell us what you need and we’ll work through the next steps with you.

Discuss Your Custom Part

BEFORE YOU START

Custom manufacturing,
explained.

Can you make a profile that is not in your catalog?

Yes. Send a cross-section drawing, a sketch with dimensions or a reference sample. We will review the shape and agree on the tooling, material and sample requirements.

Can I specify adhesive backing or sponge rubber?

Include these requirements in your inquiry. We will review the construction, substrate and operating conditions before confirming the production specification.

What is the minimum order quantity, and how long will production take?

Minimum order quantity, tooling cost and sample and production timing depend on your design, material and quantity. Send your requirements so we can confirm these in your quote.

Request a Quote

Tell us about your part, including dimensions, material, quantity, application and any special requirements. Attach a drawing if available to help us prepare your quote.

Contact Our Team

Prefer email? Contact us at [email protected]

Attach a drawing (optional)