
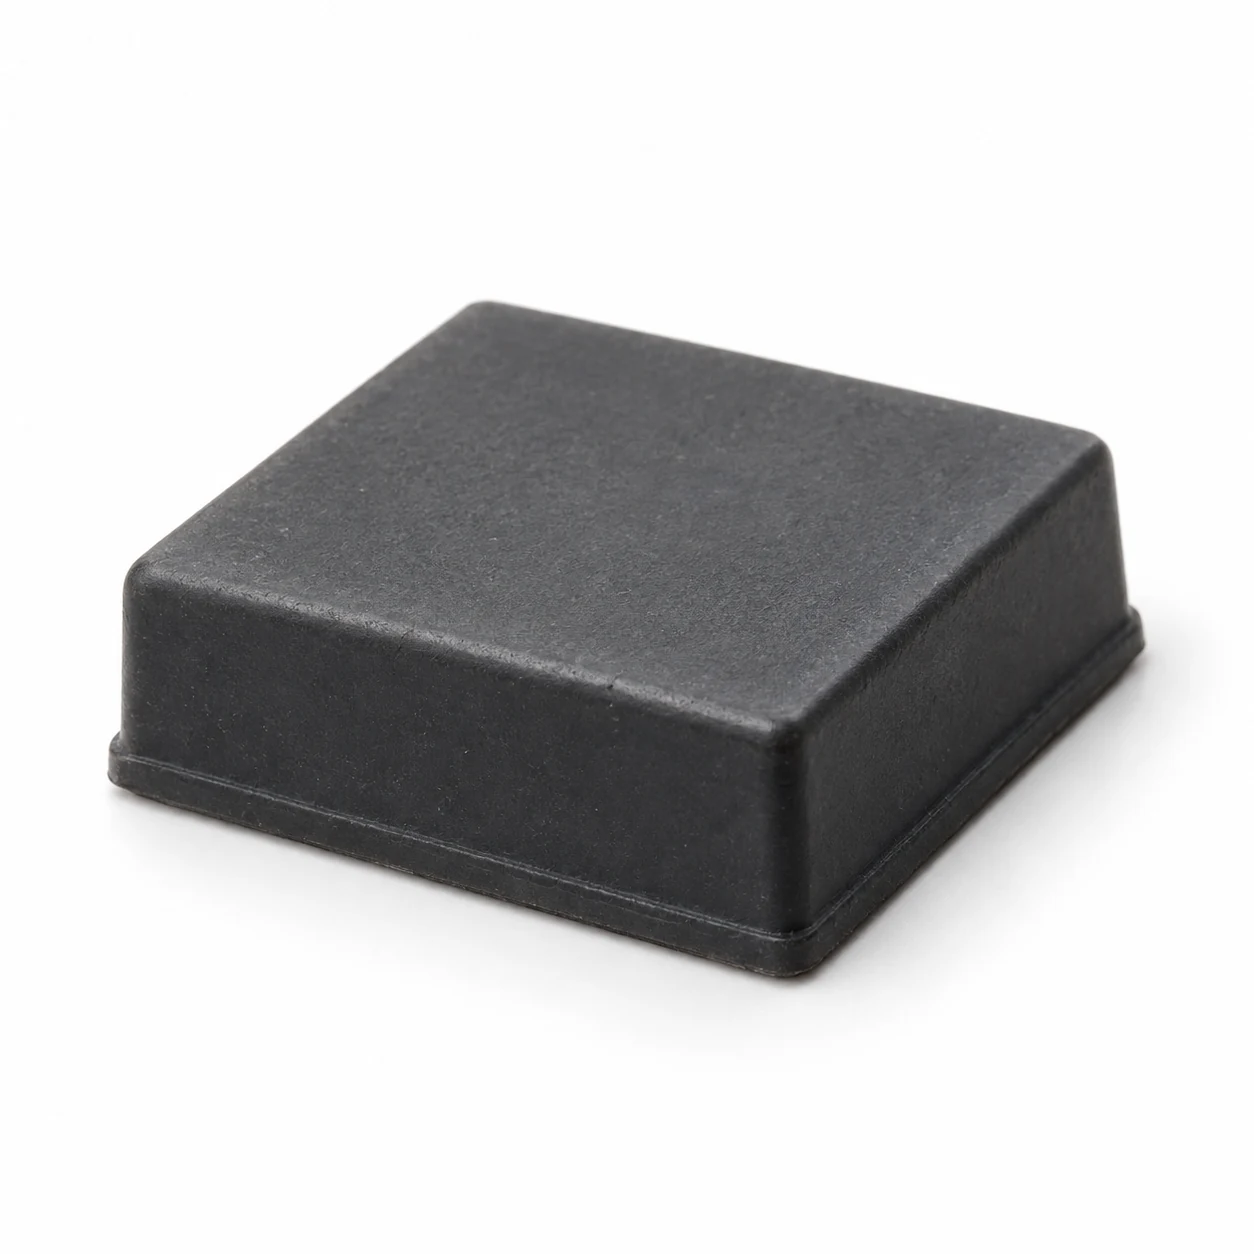
Adhesive Rubber Bumper Pads
Explore our rubber and silicone products. Contact us with your size, material and application requirements.
Need a custom color? Include your Pantone color code when requesting a quote.
Request a QuoteExplore Our Product Range
Find the right part for your application.
Adhesive backing: what to specify
Self-adhesive feet use a protected adhesive layer for attachment. Select the rubber body and the backing together: the body material alone does not determine which surfaces the backing will bond to.
- Adhesive identity: manufacturer, grade, adhesive chemistry, carrier (if any), thickness and coverage on the foot.
- Installation conditions: approved substrates, cleaner or primer requirements, application temperature, pressure and time before loading.
- Service conditions: temperature range of the complete bonded assembly, humidity, water or chemical exposure, indoor or outdoor use and load direction.
- Supply and storage: liner format, pack quantity, shelf life, storage conditions and batch identification.
Include the equipment weight, number and position of feet, sliding forces and any tendency for an edge to lift. Request samples of the proposed backing on the proposed foot material for evaluation on your actual assembly.
Substrates: check the actual surface
The surface finish matters as much as the base material. The following is a trial-bonding checklist, not a compatibility approval for an unspecified adhesive.
| Mounting surface | Checks for your sample trial |
|---|---|
| Glass & smooth metal | Check for oil, fingerprints, protective films, oxidation and condensation. Identify any coating on the metal. |
| Painted or powder-coated metal | Identify the coating and its cure condition. Verify both the adhesive-to-coating bond and the coating-to-metal attachment. |
| Rigid plastics, including ABS & PC | Specify the resin and surface finish. Check for mold-release residue and confirm that the cleaner will not damage or craze the plastic. |
| PP, PE & other low-surface-energy plastics | Ask for a backing specifically evaluated for the resin. Confirm whether a compatible primer or treatment is needed before production. |
| Silicone, rubber & flexible vinyl | Identify the exact compound and additives. Request compatibility testing for the proposed adhesive, including aging under the intended conditions. |
| Wood, porous or textured finishes | Check loose fibers, porosity, texture and flatness. Confirm whether sealing or a different mounting method is required. |
Surface preparation
- Inspect the mounting position. Select a sound, flat area large enough for the entire adhesive footprint. Remove an old foot and its residue using a method compatible with the equipment finish.
- Clean with an approved method. Remove dust, grease and release agents using the adhesive supplier’s substrate-specific instructions and a clean, lint-free cloth. Test the cleaner on an inconspicuous area first.
- Allow the surface to dry. Do not bond over cleaner residue, moisture or condensation. Keep the prepared surface free of fingerprints and dust.
- Treat only when specified. Abrasion, primer or other surface treatment should follow the confirmed adhesive instructions. Do not sand a coating or add a primer without checking compatibility.
How to apply adhesive feet
- Check the instructions and conditions. Confirm shelf life and the permitted application temperature for both the foot and the substrate. Follow the preparation steps above.
- Mark the positions. Check alignment, clearance and support positions before removing the liner. Keep each adhesive footprint fully within the prepared area.
- Peel the liner. Handle the foot by its sides without touching the exposed adhesive.
- Place and press. Apply the foot once in the planned position. Use the specified pressure and duration across the bonded area without damaging the foot or equipment.
- Wait before loading. Keep the assembly undisturbed for the time specified for the actual backing and conditions. Do not assume one universal 24-hour waiting period.
- Validate the assembly. After the specified waiting time, check for movement or edge lifting under representative weight, sliding, repeated contact and service conditions. Agree acceptance criteria before approving production.
If a foot is misplaced or a bond fails, remove it and review the cause. Prepare the surface again and use a fresh foot; do not assume a peeled-off adhesive layer is reusable.
Compare adhesive foot shapes
Choose the footprint to fit the mounting surface, then check height, contact geometry and the adhesive specification. Shape alone does not establish load capacity or bond strength.
| Shape / sizes | Selection starting point | Dimensions to confirm |
|---|---|---|
| Rectangular | A straight-sided footprint for rectangular mounting areas. | Length, width, height and corner clearance; confirm the actual bonded area. |
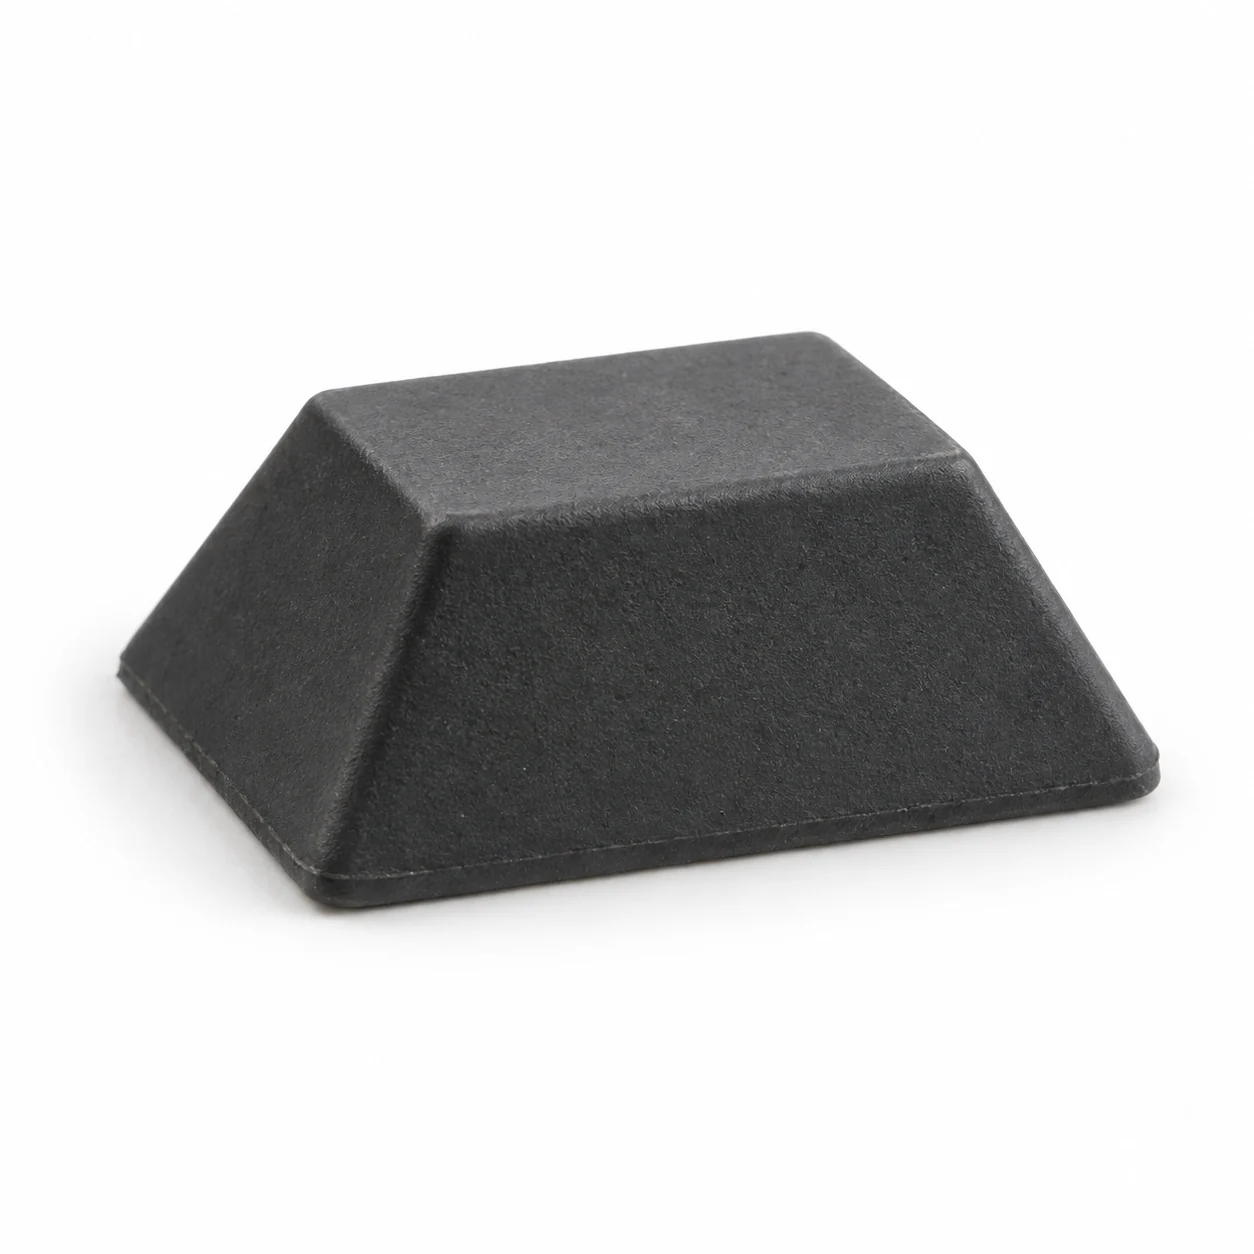
| Trapezoidal | A tapered profile where the base and contact face have different outlines. | Both face dimensions, height and taper direction; identify which face carries the adhesive. |
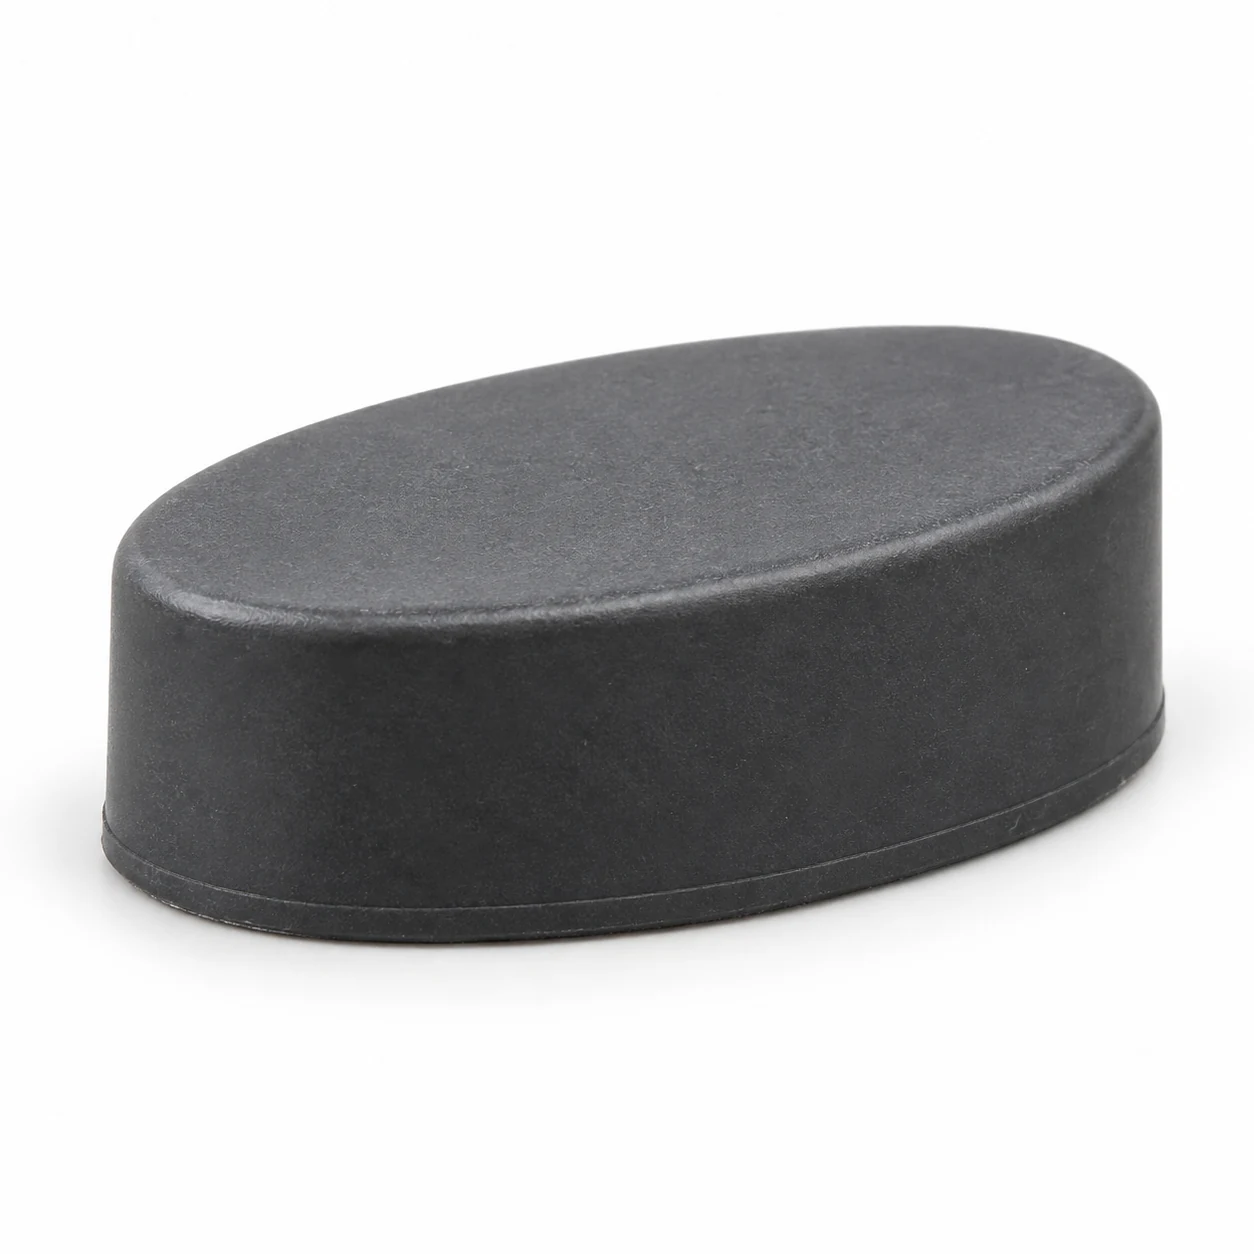
| Oval | An elongated outline with rounded ends for narrow mounting areas. | Major axis, minor axis, height and orientation on the assembly. |
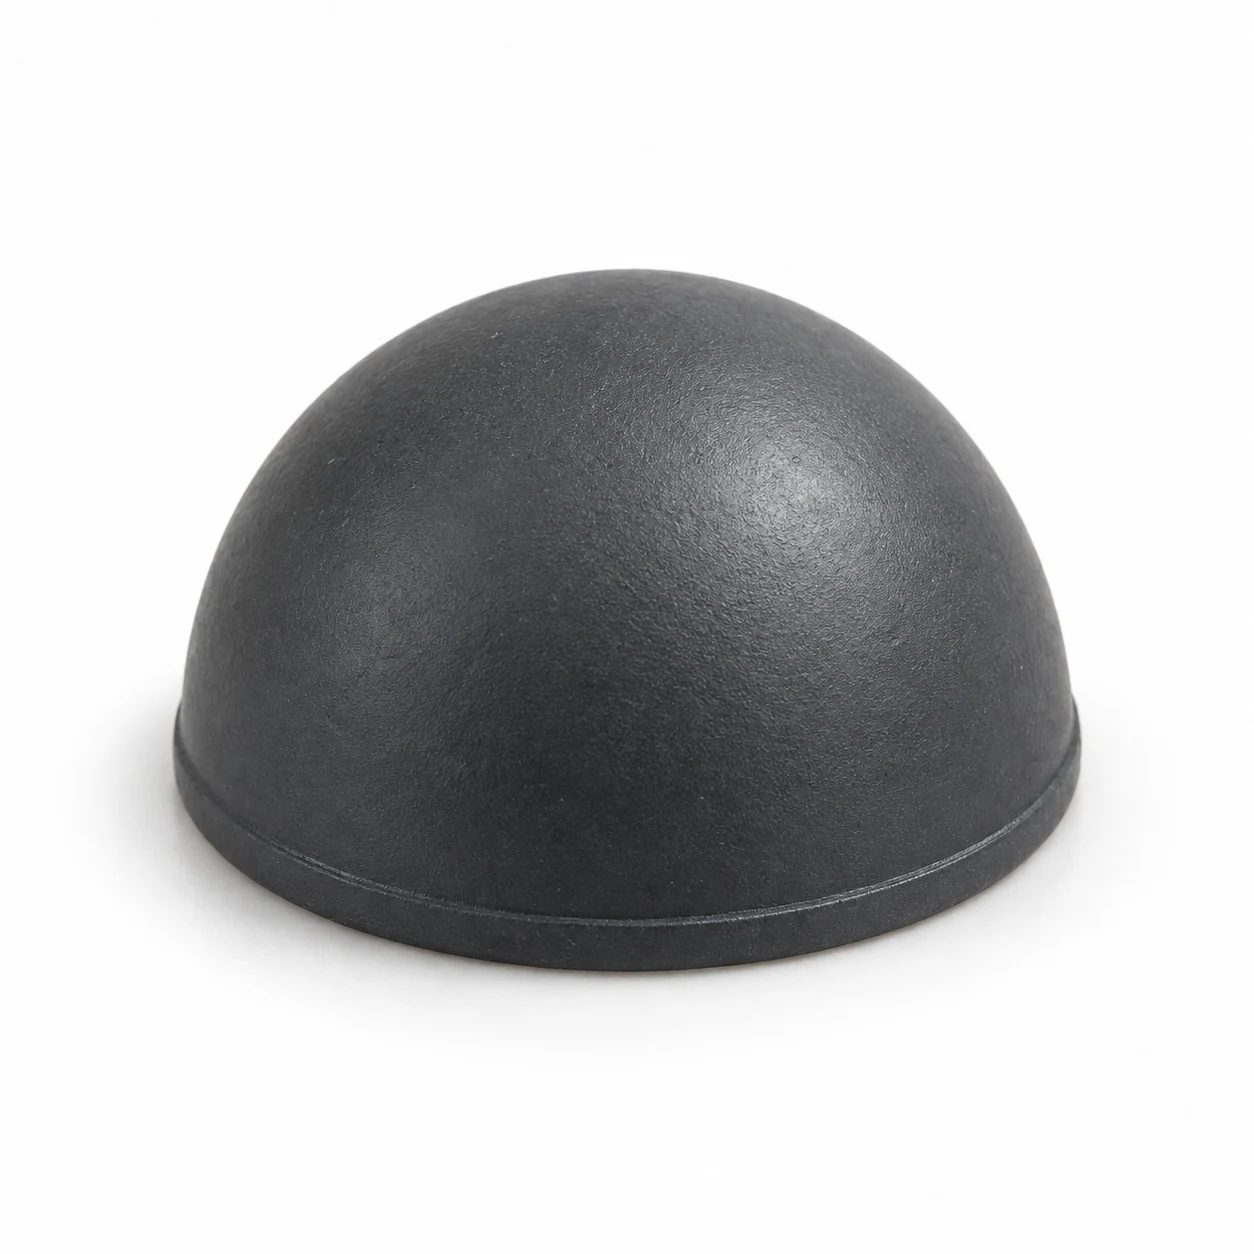
| Hemispherical | A curved contact face for a localized bumper contact. | Base diameter, overall height and contact behavior under the intended compression. |
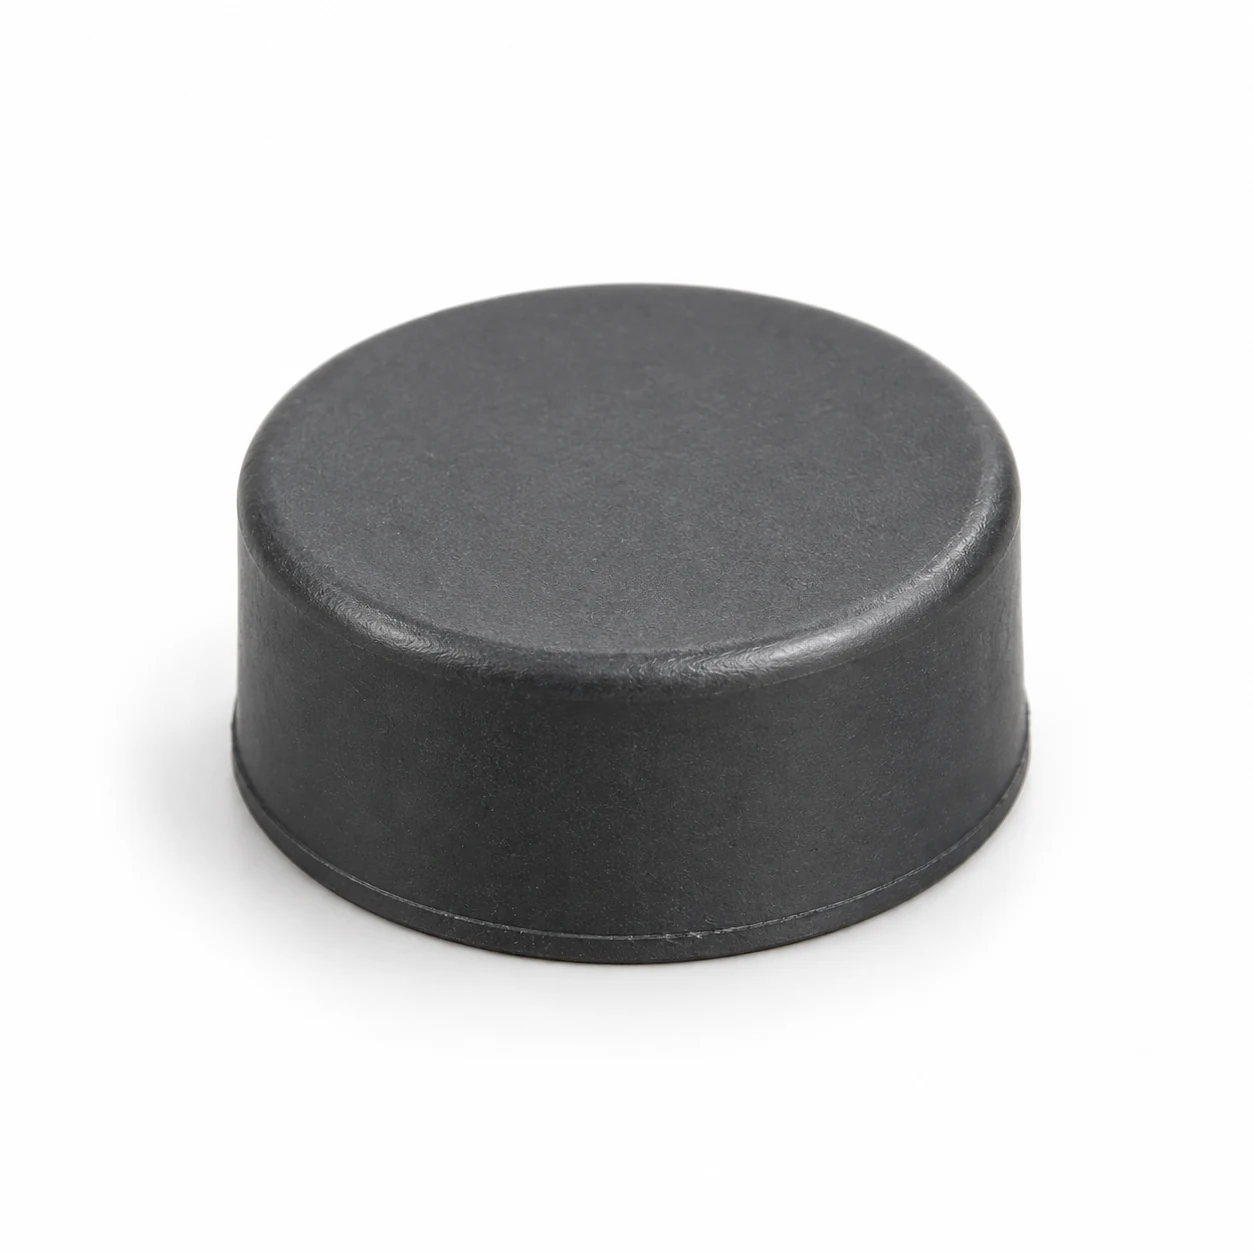
| Columniform | A circular footprint with a flat contact face for a round mounting position. | Base diameter, height and the available flat mounting area. |
The adhesive footprint is the area bonded to the equipment. The opposite face contacts the supporting surface or moving part. These areas may differ, especially on tapered and hemispherical feet. Compare the actual drawing before choosing a replacement.
About Adhesive Rubber Bumper Pads
Professional Silicone Rubber Parts Manufacturers
Adhesive rubber bumper pads cushion contact and help reduce vibration on machinery and furniture. Fitted beneath tables, chairs or equipment, they help protect floors and painted surfaces, improve grip and reduce noise. Pad thickness can also provide spacing or help level a small item. Material options include rubber, silicone and PU; confirm wear resistance and any RoHS requirements for your application.
The rubber bumper pads have adhesive backing with a peel-off release liner. Remove the liner, position the pad on a clean, dry surface and press it into place. Follow the recommended bonding time before loading it.
Specify your preferred hardness, shape and Pantone color code for a custom part. With more than 20 years of experience manufacturing rubber feet, we can help you review the options for your application.
Need a quote or a custom size?
Share your dimensions, material and quantity. We will help you choose a suitable part and confirm the price and delivery schedule.
Ready to Find Your Rubber Part?
Send your requirements or drawing to discuss the right part for your application.